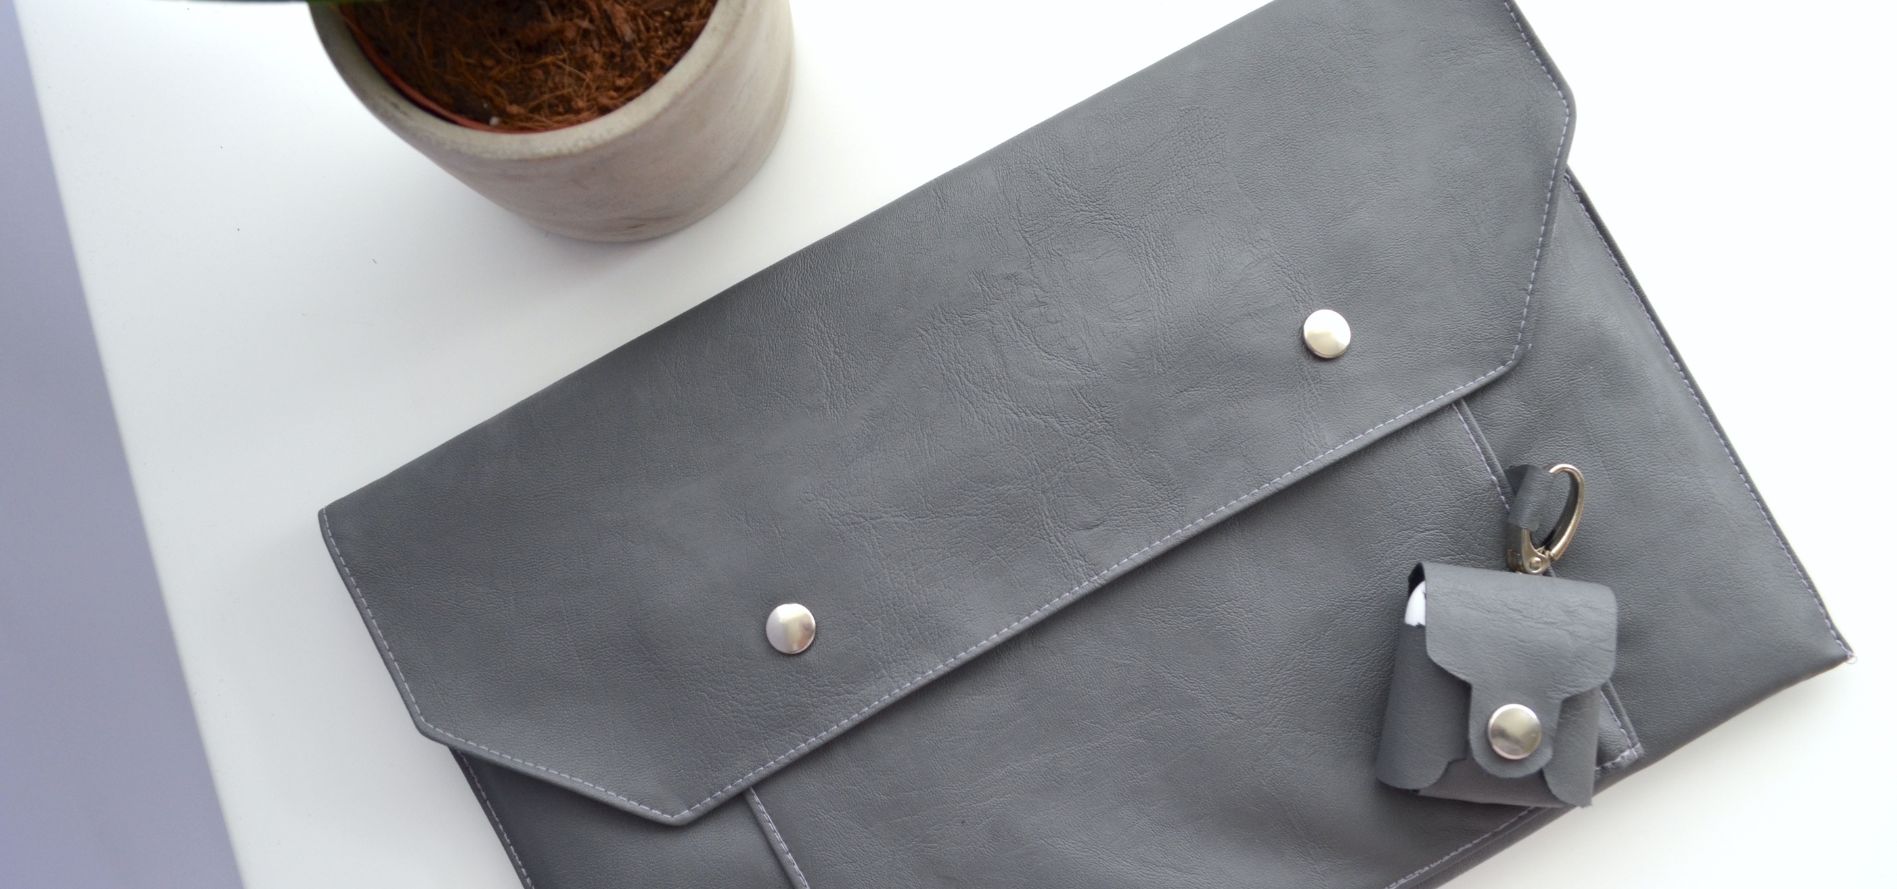
Making your own laptop sleeve couldn’t be easier. Create the pattern using just the measurements from your own laptop and add a few practical touches like a pocket and loop for pens or to attach a carabiner for your Airpods.
Materials:
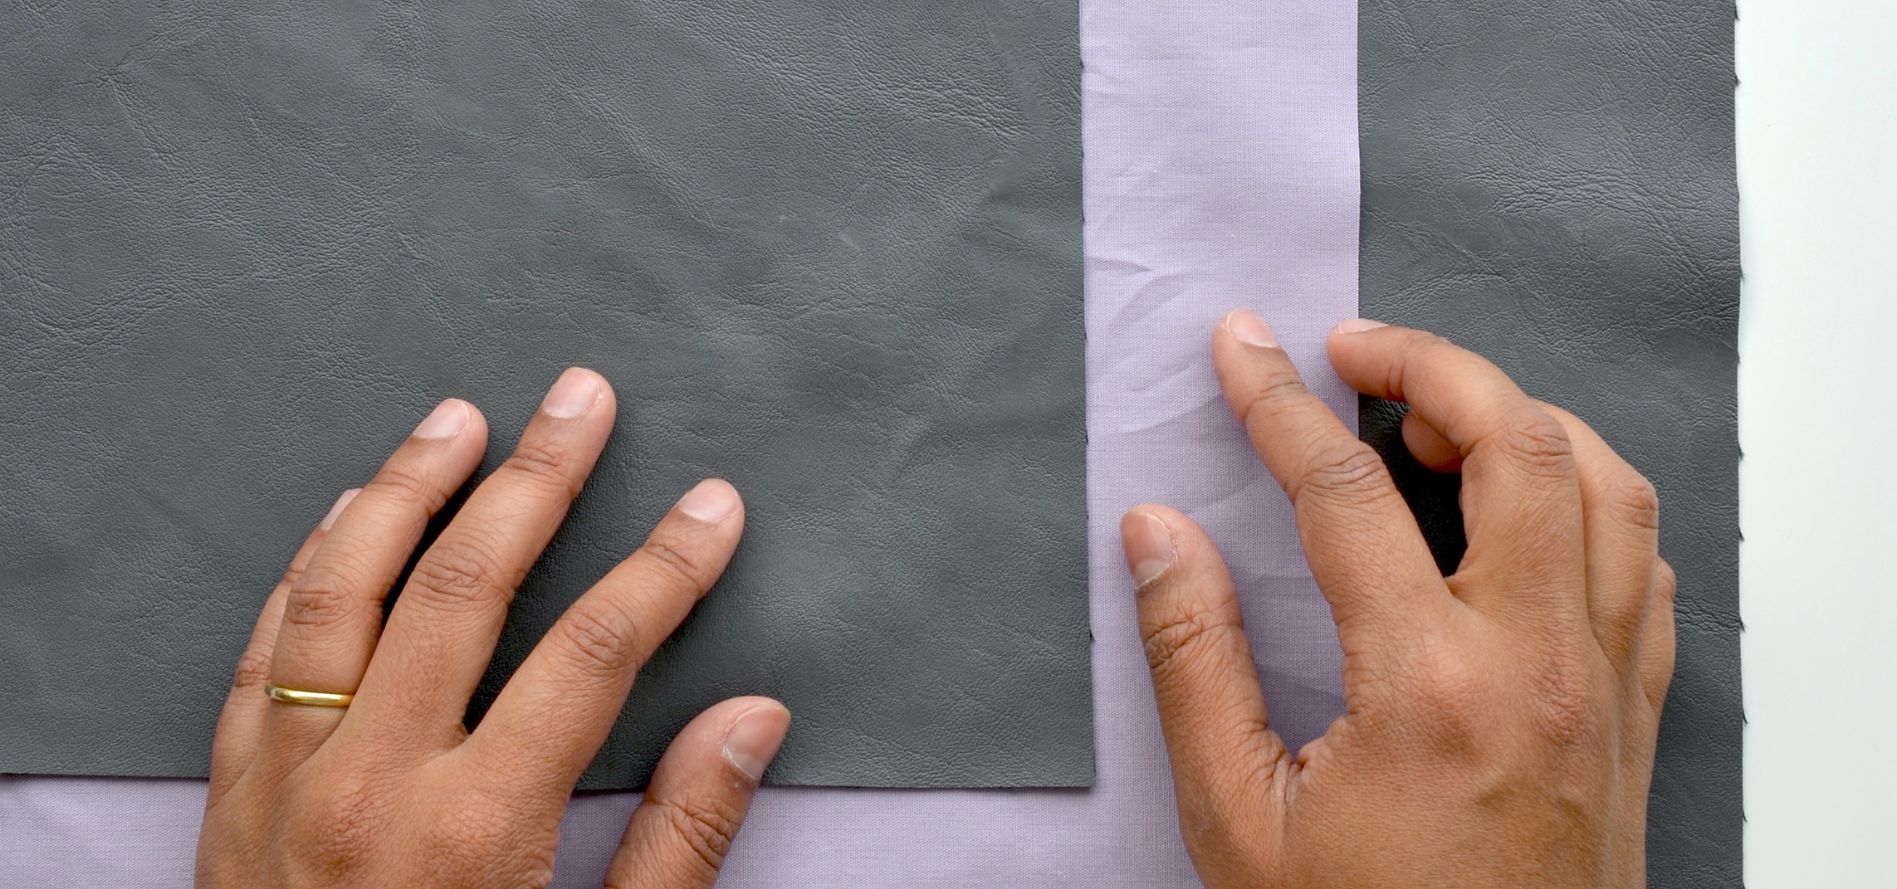
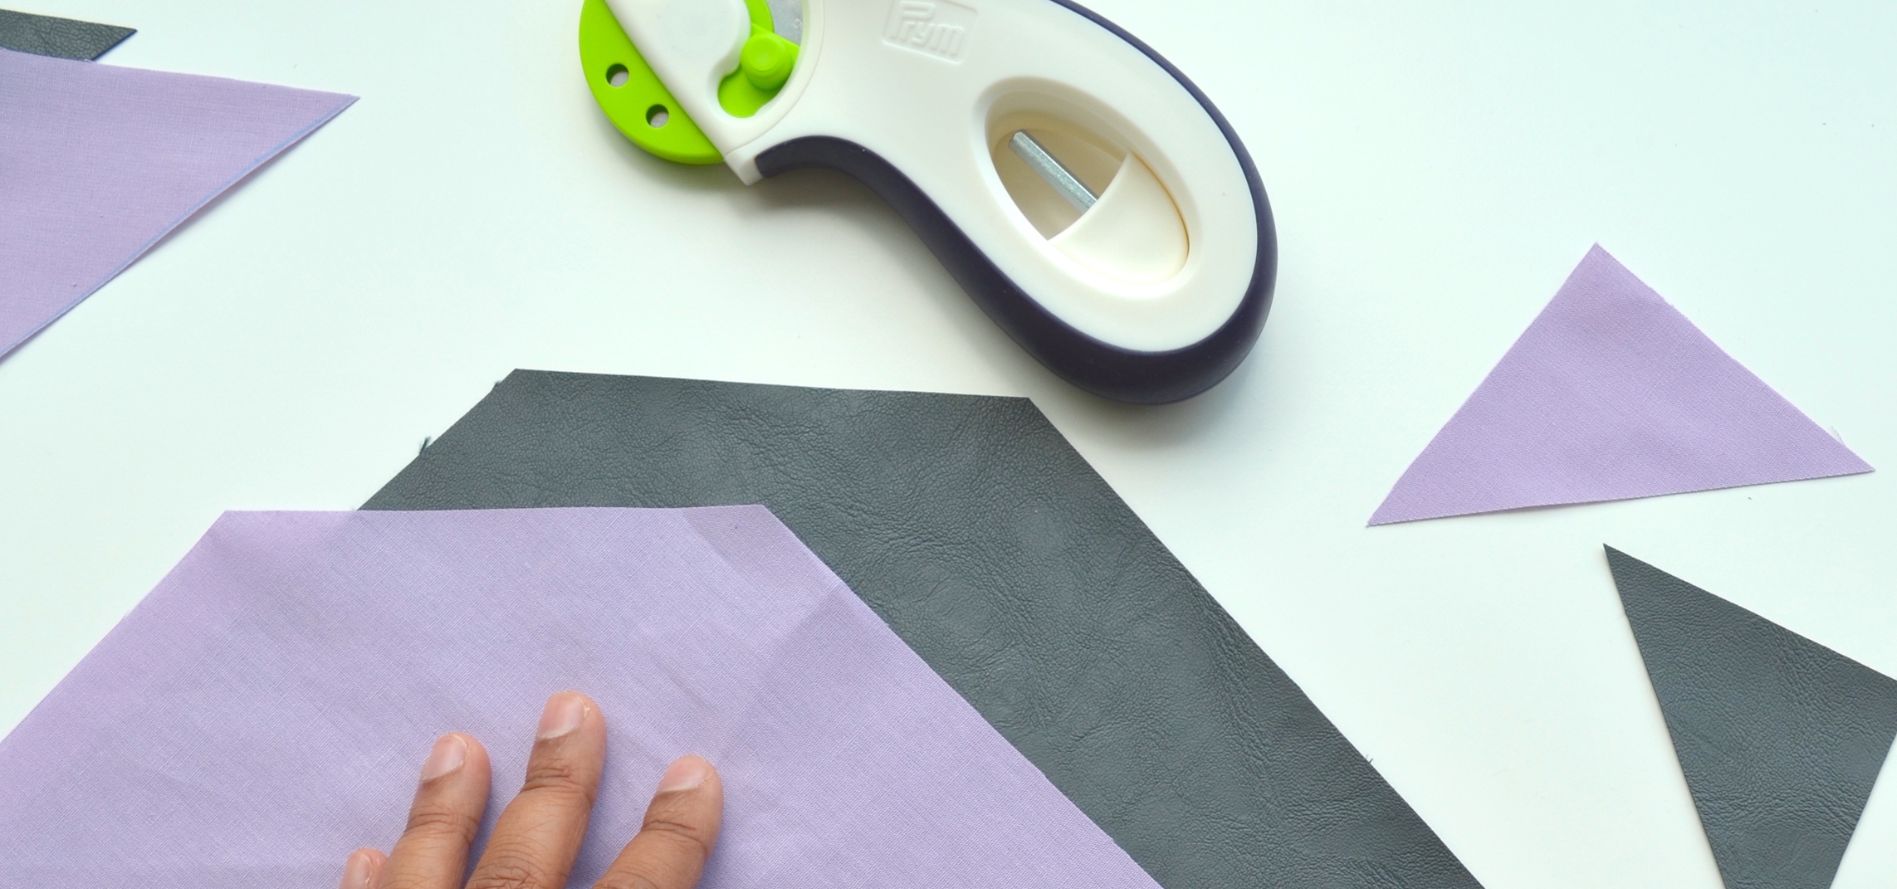
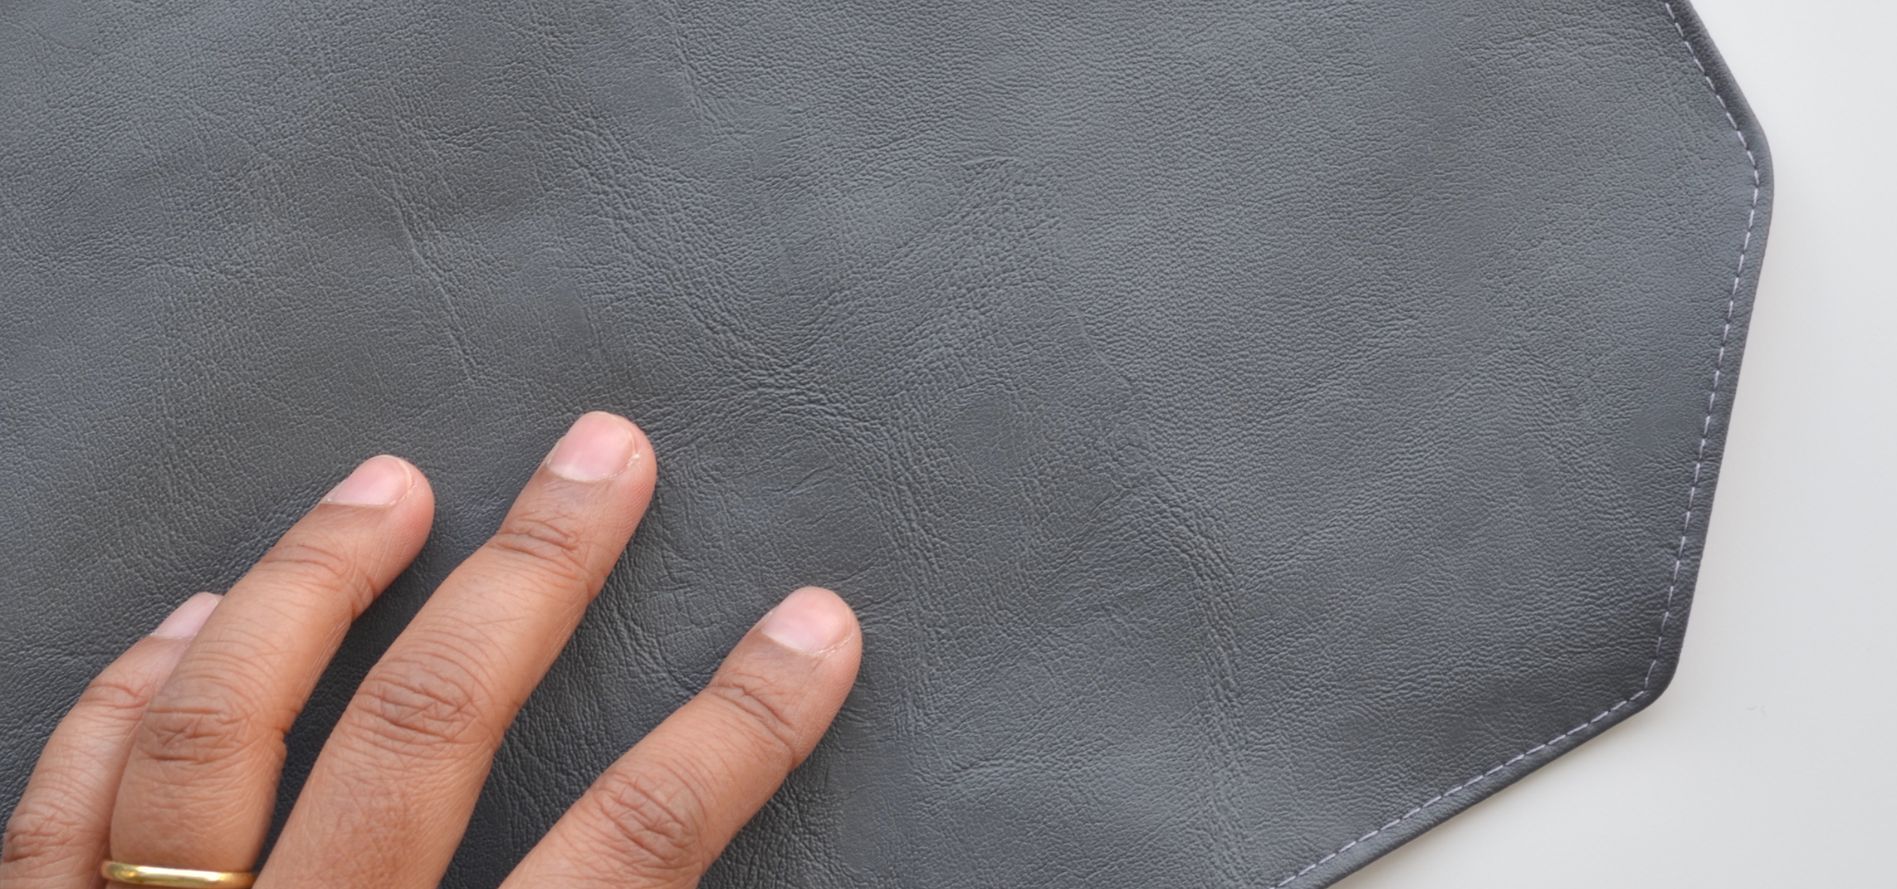
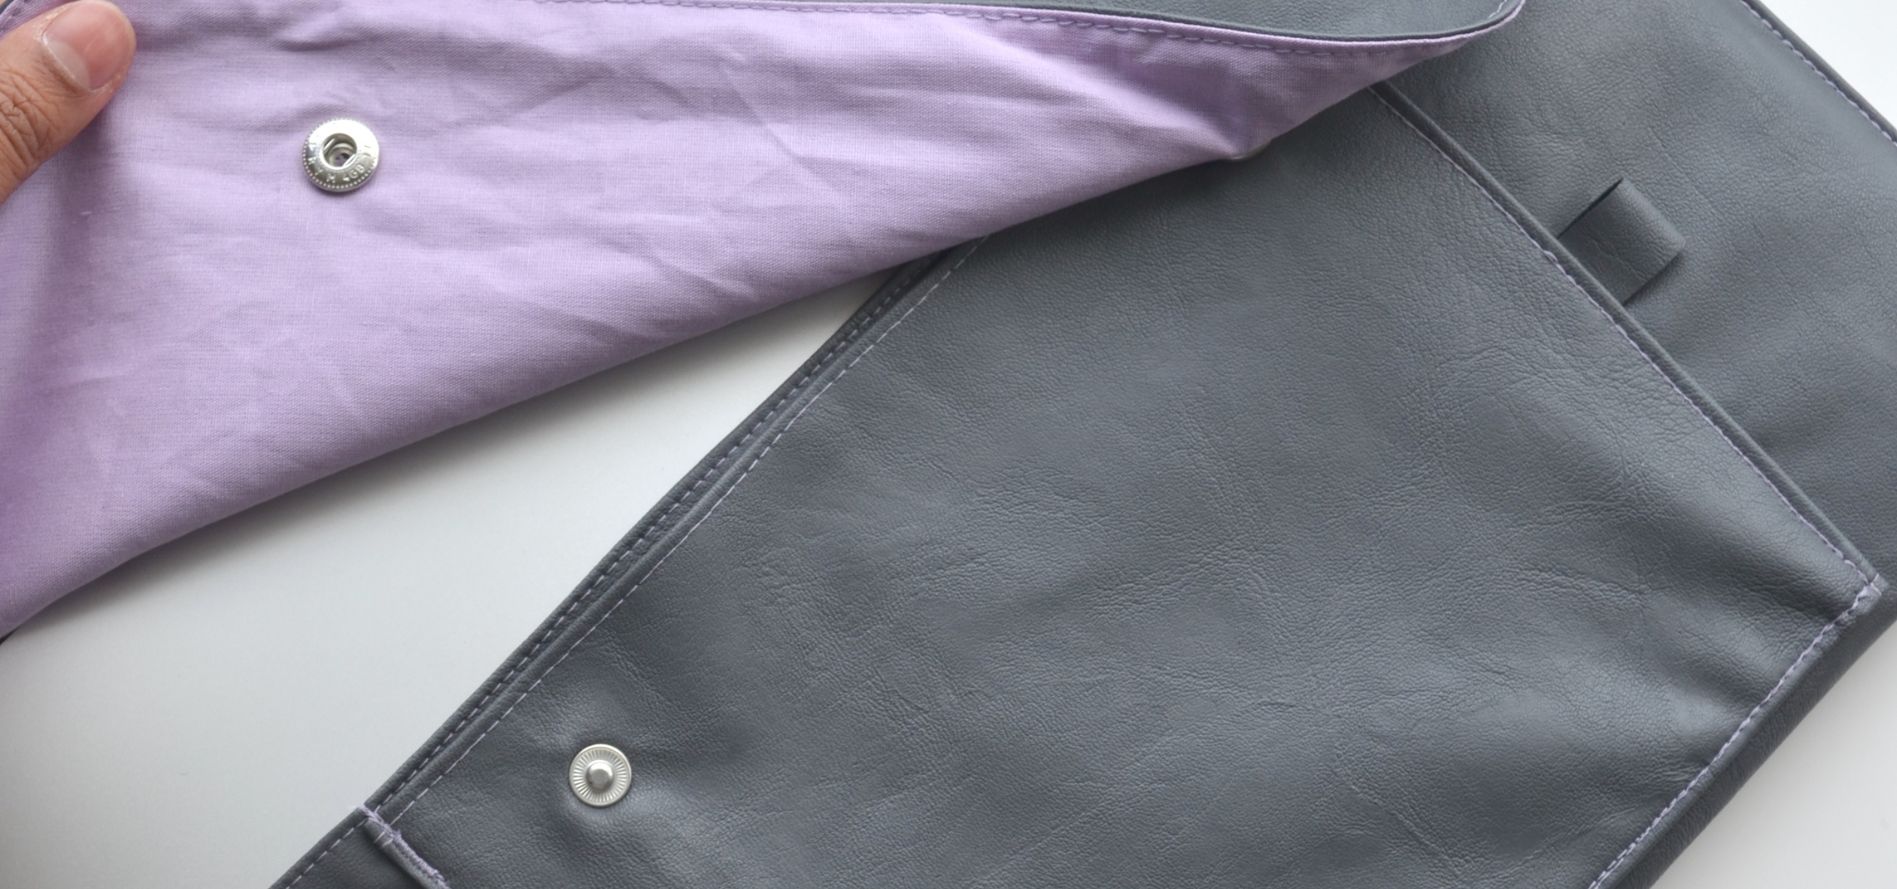
• Fabric for outer (faux leather in grey)
• Fabric for lining (polycotton in lilac)
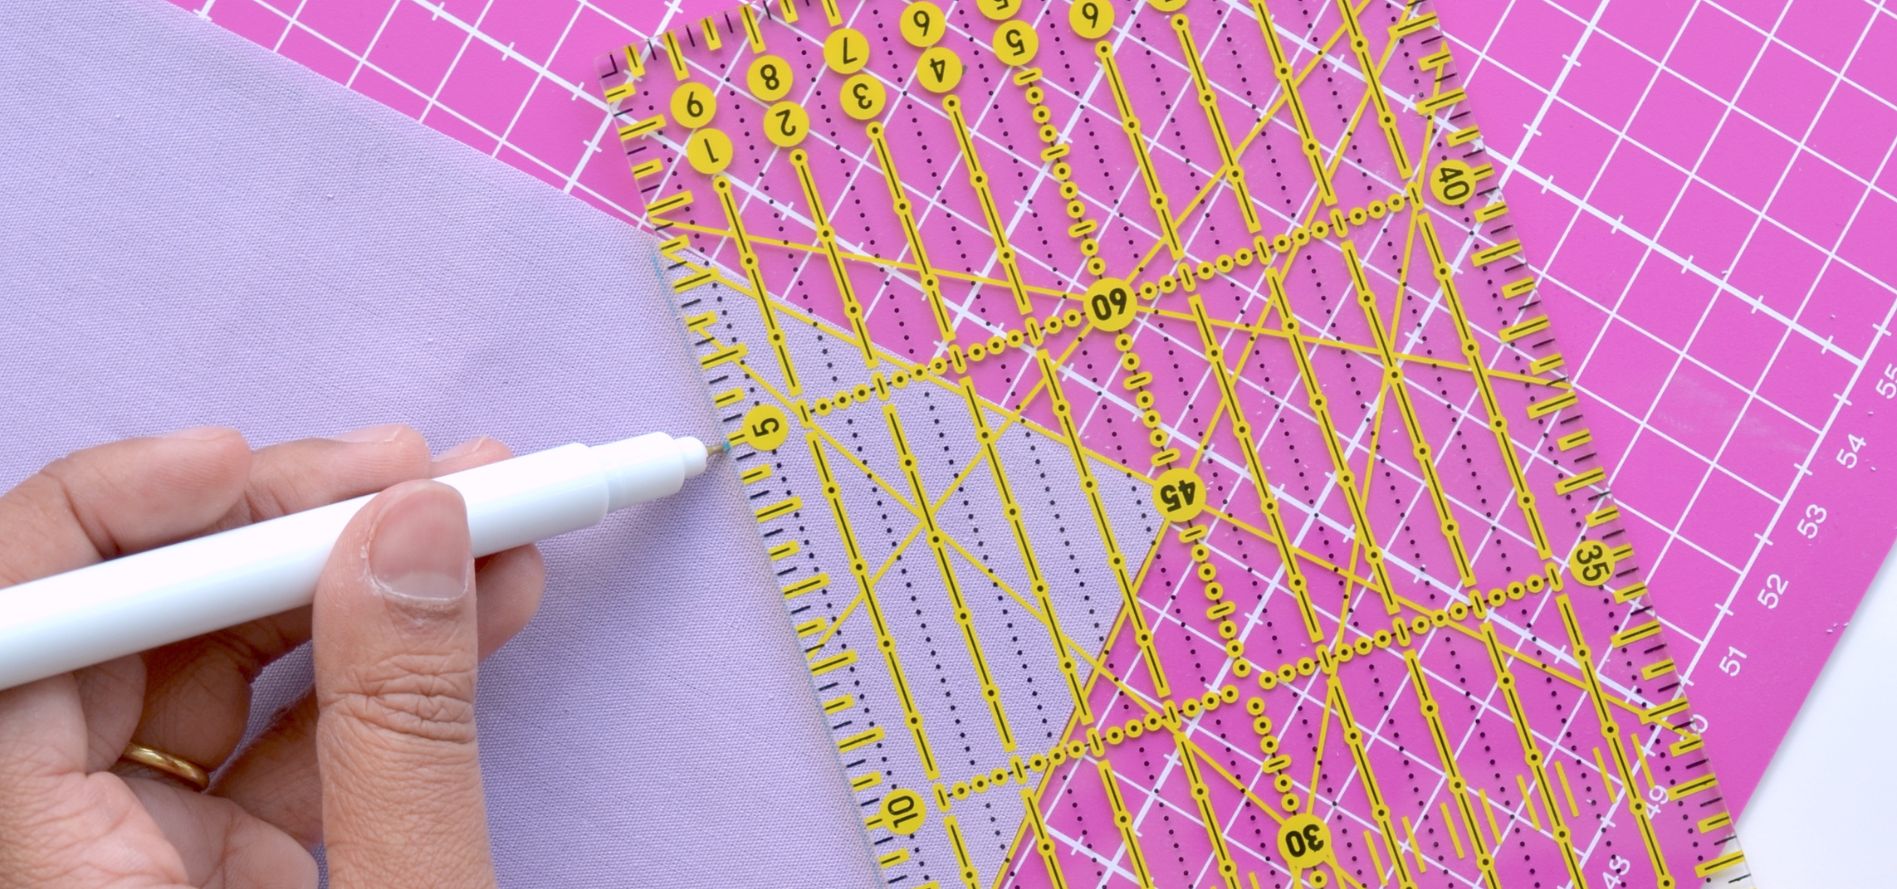
• Chalk/fabric pen to mark your pattern pieces
• Rotary blade and cutting mat (or fabric scissors)
• Quilting ruler
• Sewing machine and thread
• Leather machine needle
• Iron
• Snap fasteners +/- Vario pliers
Before we start we need to measure your laptop! We want the height (H), width (W) of your laptop.
Example (my laptop): Height 21cm, width 30.5cm
Creating the pattern pieces
Main pattern piece
Our main pattern piece is a big rectangle. To get the measurements right we’ll need to do a little maths, but don’t worry! I’ve broken it down, step by step. Just follow the instructions and look at my example.
• To get the width of the pattern piece we need to add: Width of laptop + 3cm = Width of pattern piece
Example of calculations using my laptop measurements: 30.5 + 3 = 33.5 cm (width of pattern piece)
If your laptop is deeper than 1cm you might want to add a little extra to the width or round up to the nearest whole cm.
• For the length of the pattern piece:
1. Adding ease: Height of laptop + 4cm
2. Multiply this number by 2.25 = Height of pattern piece
e.g. 24 x 2.25= 54
That’s it! Let’s get making.
Making the laptop sleeve

1. Mark out your measurements on to the fabric (leather and lining fabric) (e.g. 33.5cm x 54cm).
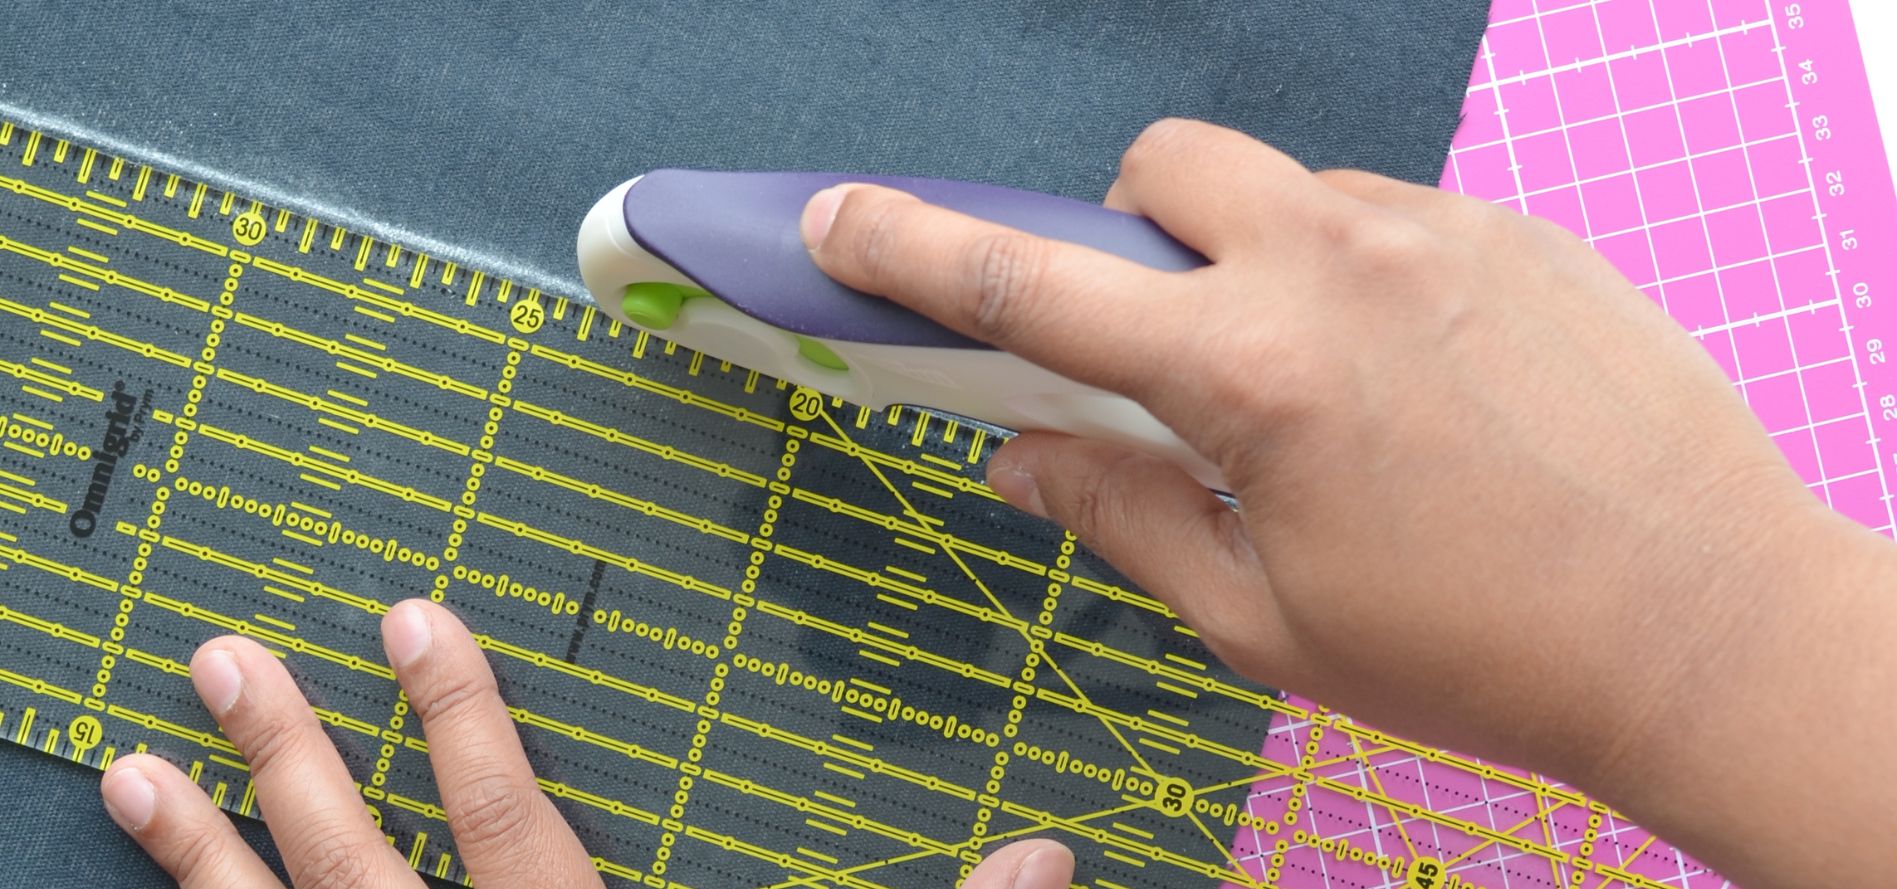
2. Cut out using rotary blade or scissors.
3. Cut out a pocket and a pen holder/carabiner loop in the leather only (you can choose whatever size you want but for reference I went with a pocket 20cm x 14cm and loop of 1.5cm x 5cm).
4. Angle off the top lid by cutting off the edges.
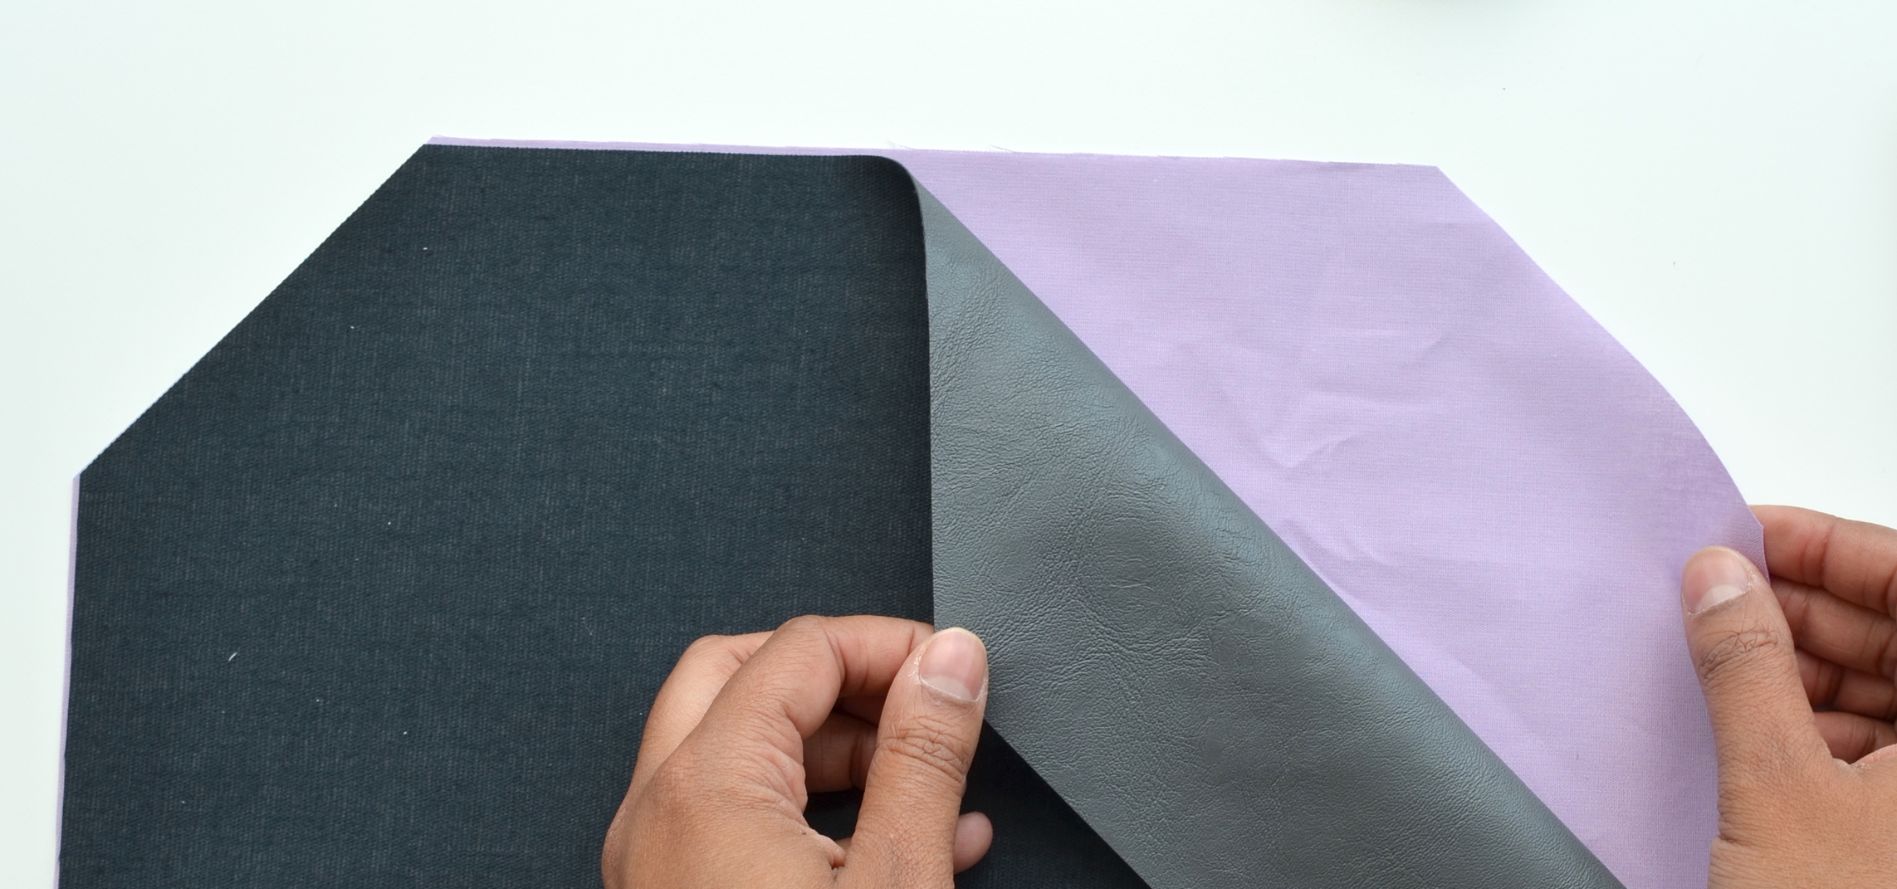
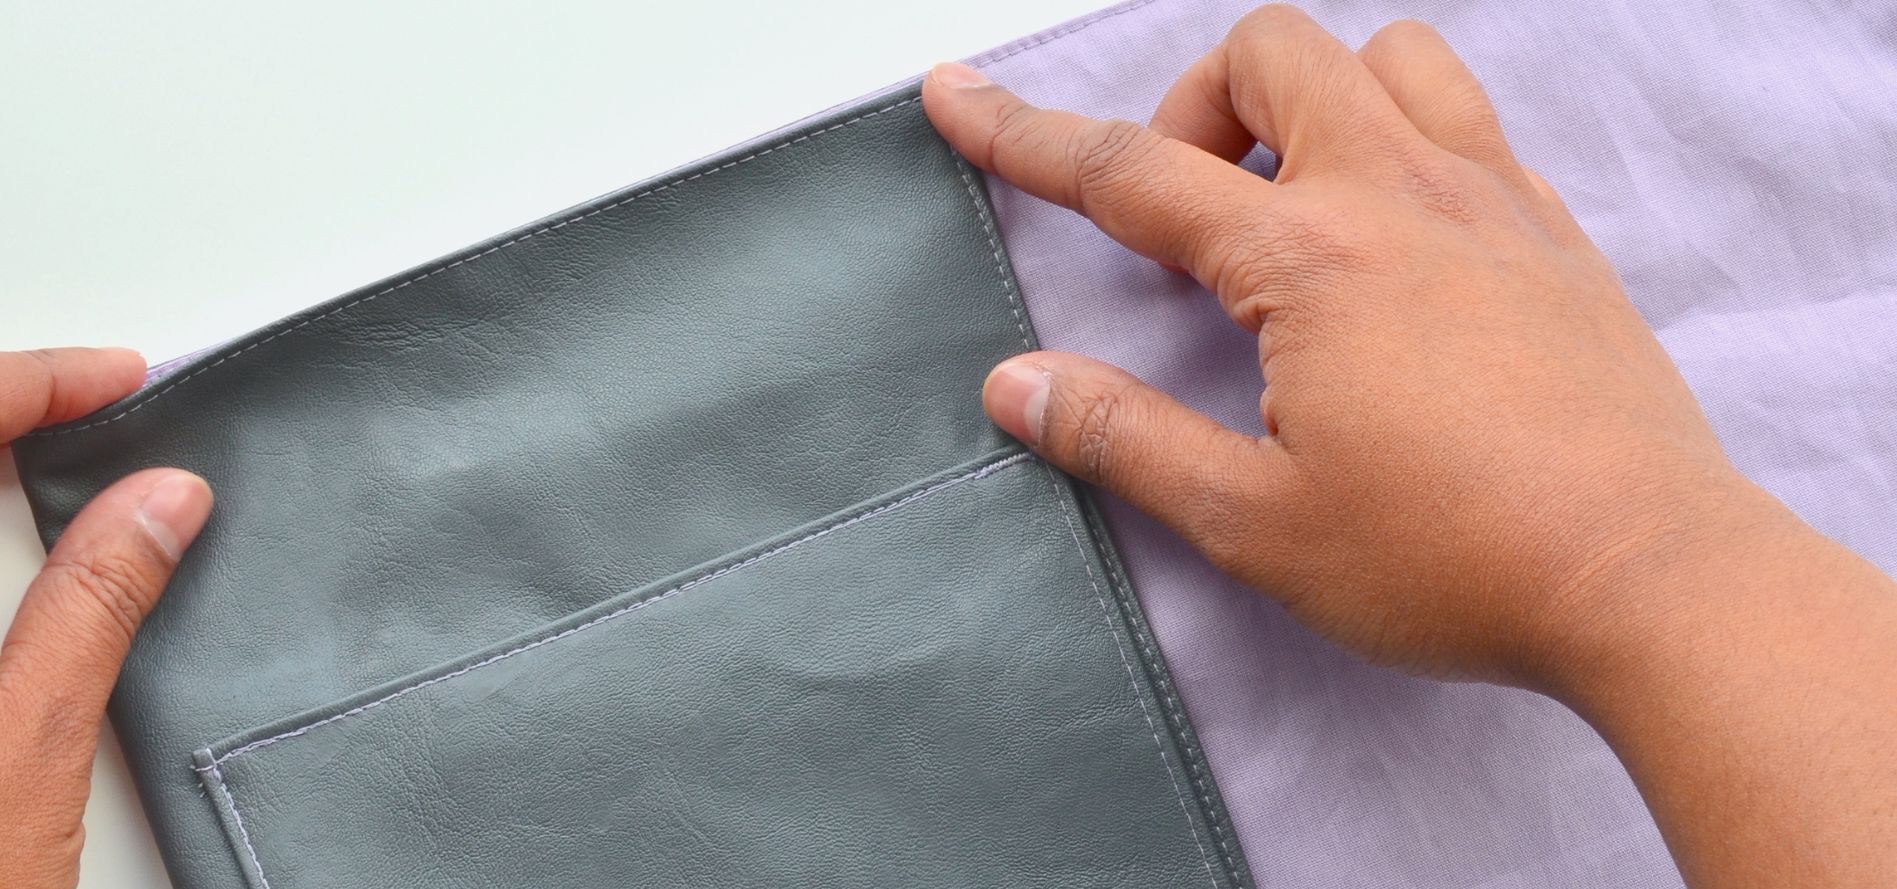
5. Place the lining and leather right sides together.
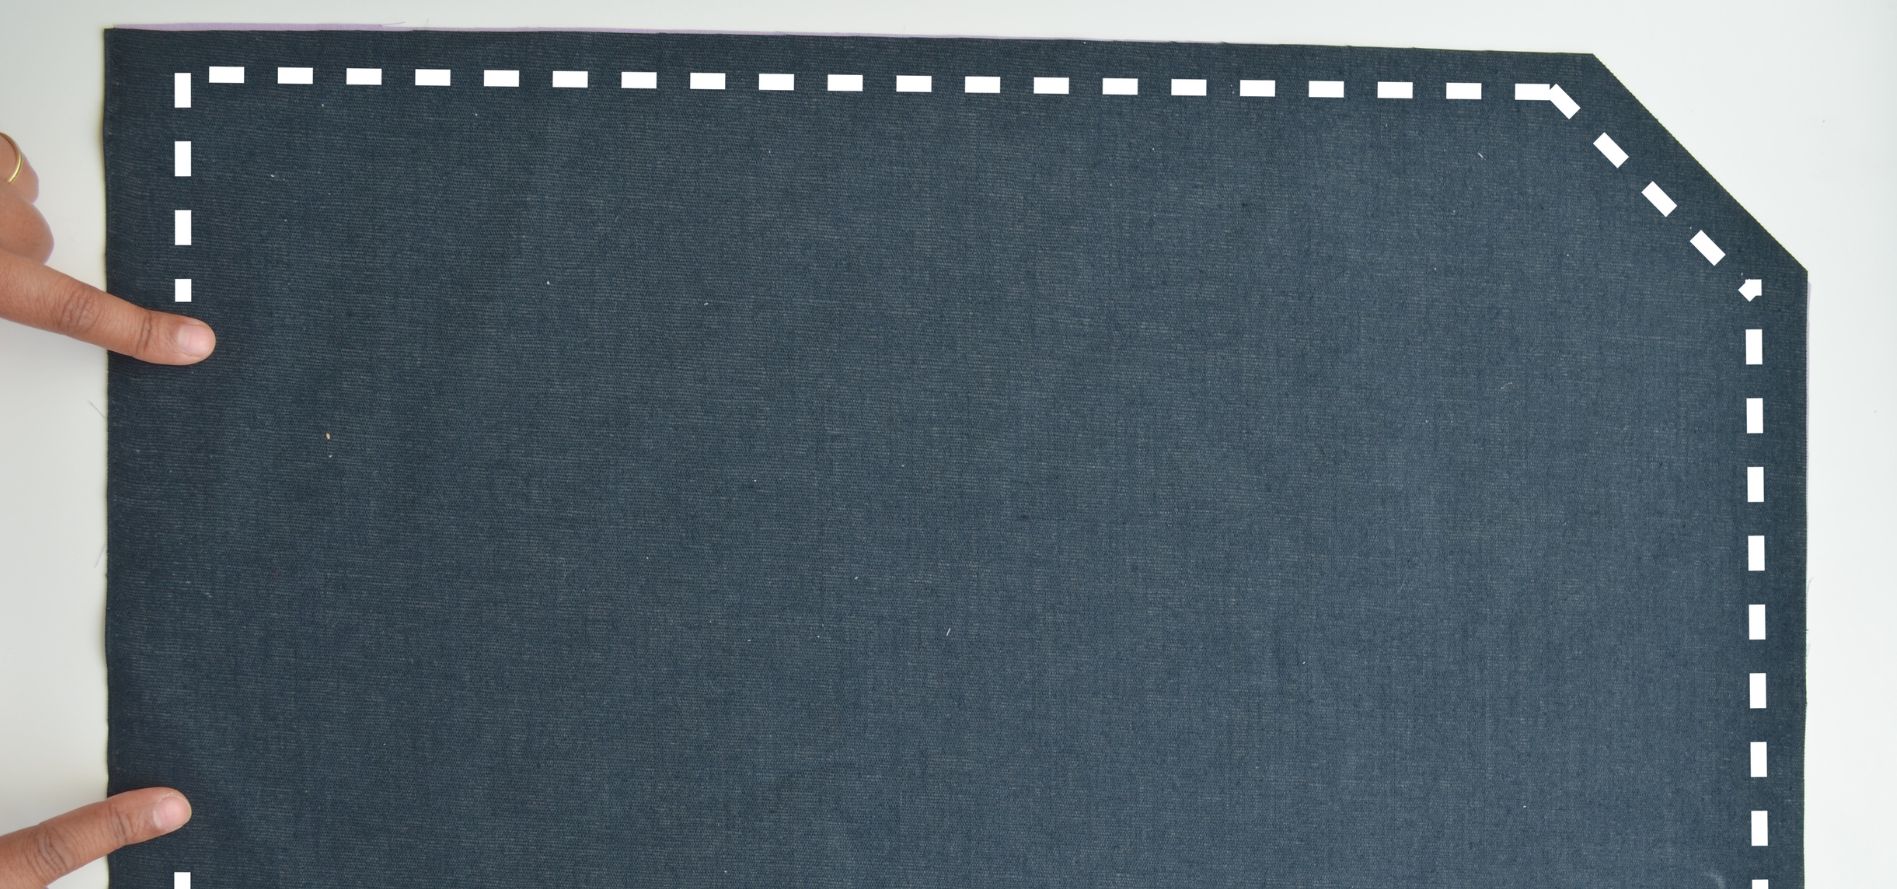
6. Stitch around the case with a 1cm seam allowance, making sure you leave a gap at the bottom approx. 5-10cm wide.
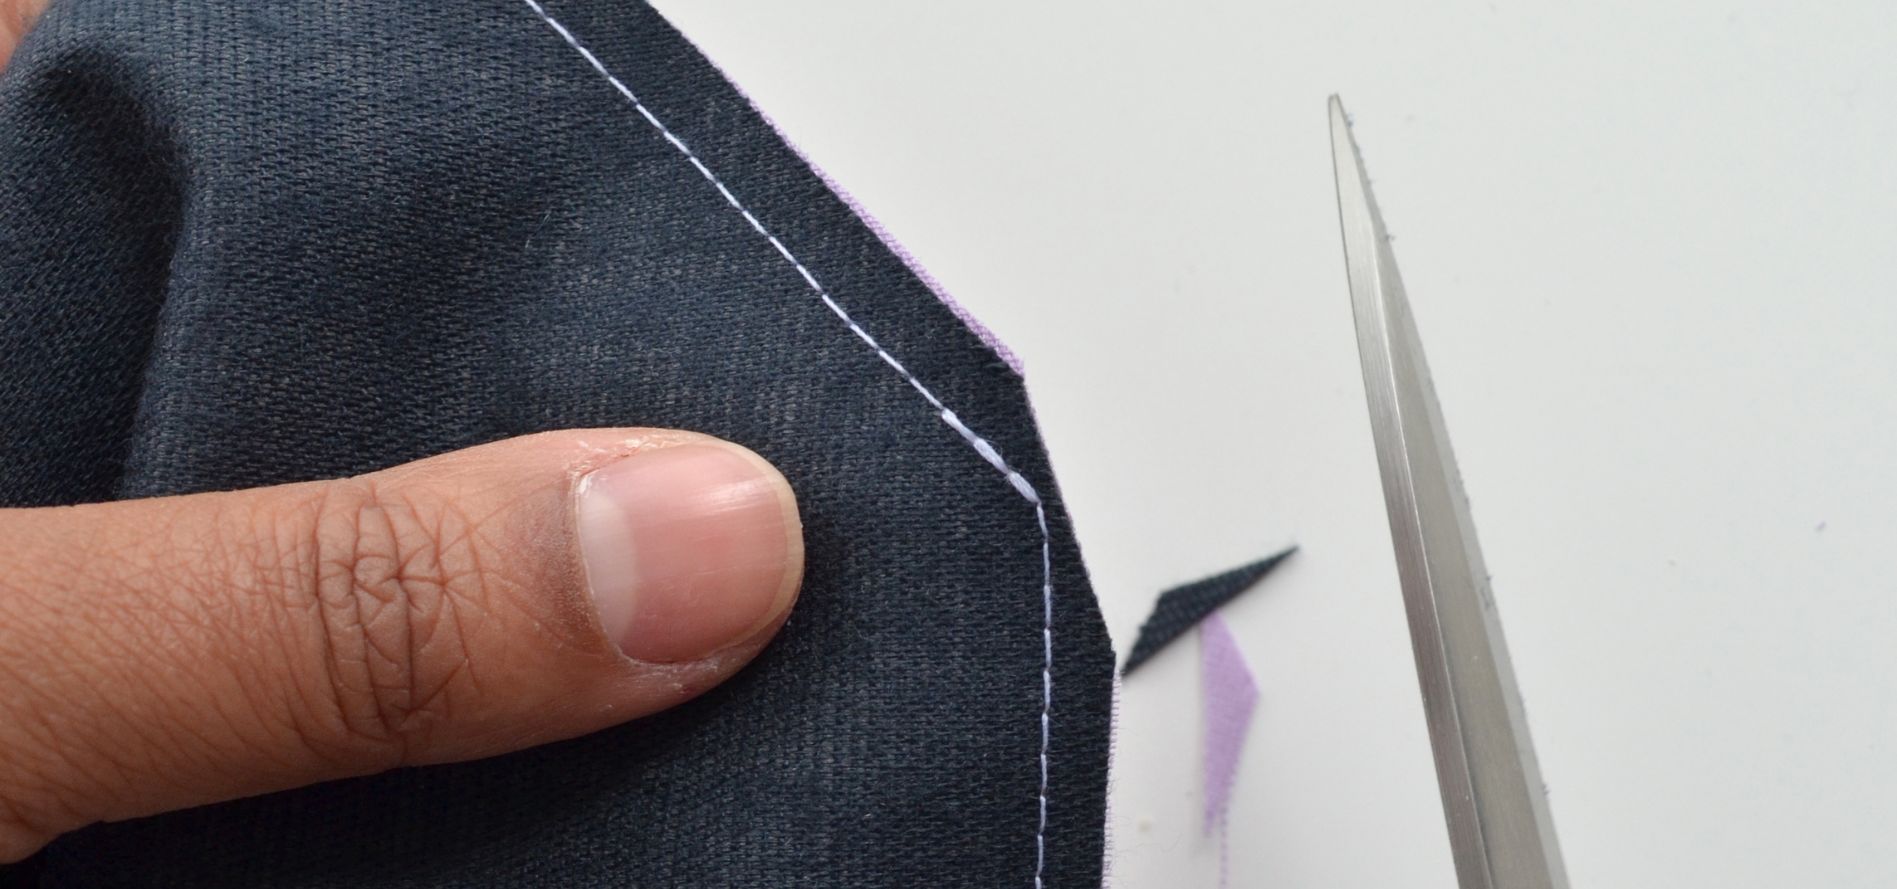
7. Trim away some of the bulk around the corners, be careful not to get too close to the stitch line.
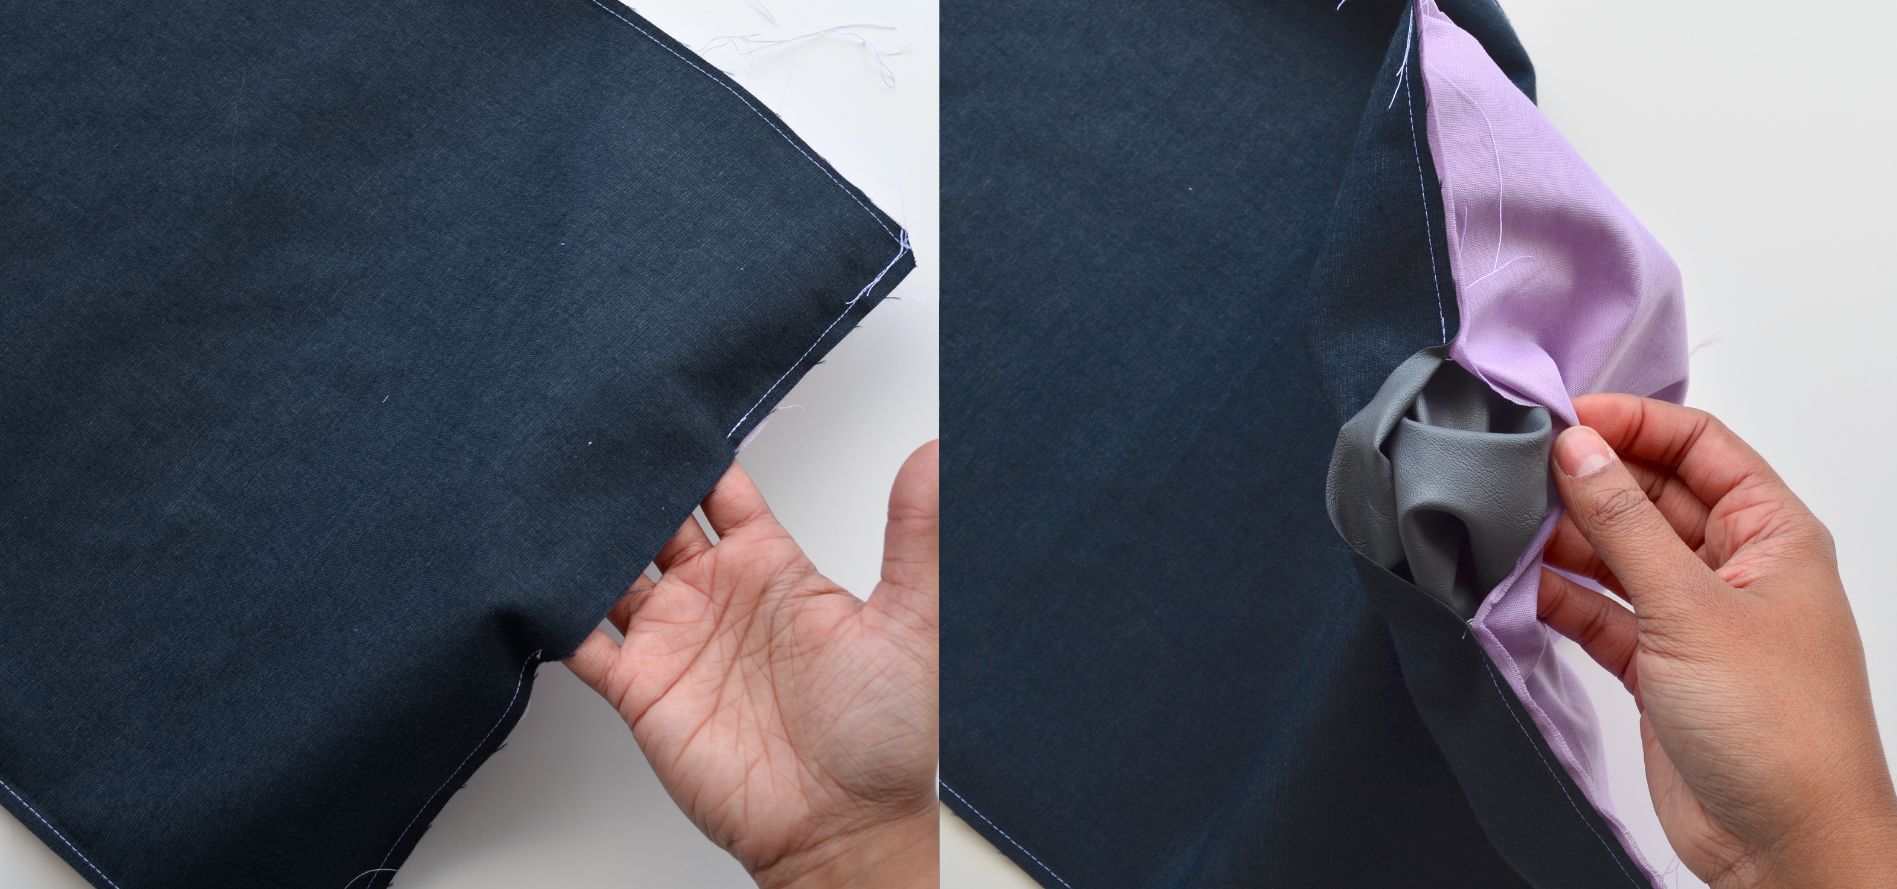
8. Pull your fabric through to the right side through the gap you left.
9. Fold in the fabric at the gap you left in step 6.
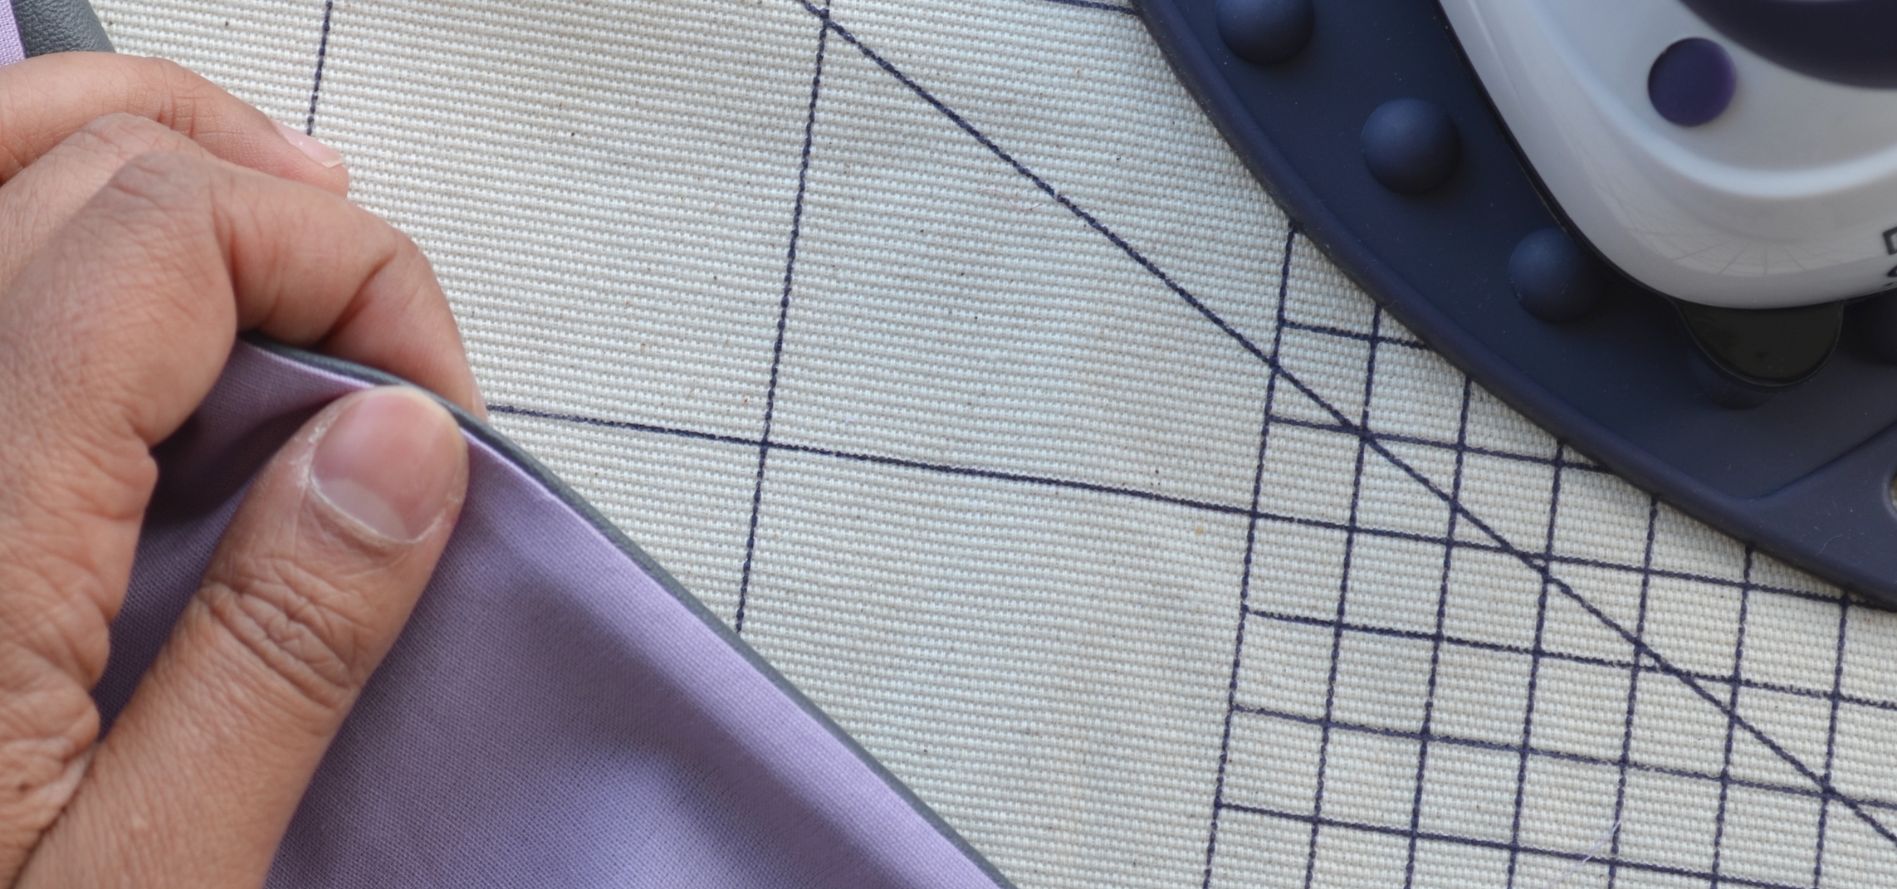
10. Carefully press your fabric so that the lining lays on the inside (be really careful in this step if you’re using faux leather! You don’t want to melt it. Use the lowest heat setting and iron from the cotton side with light pressure.).
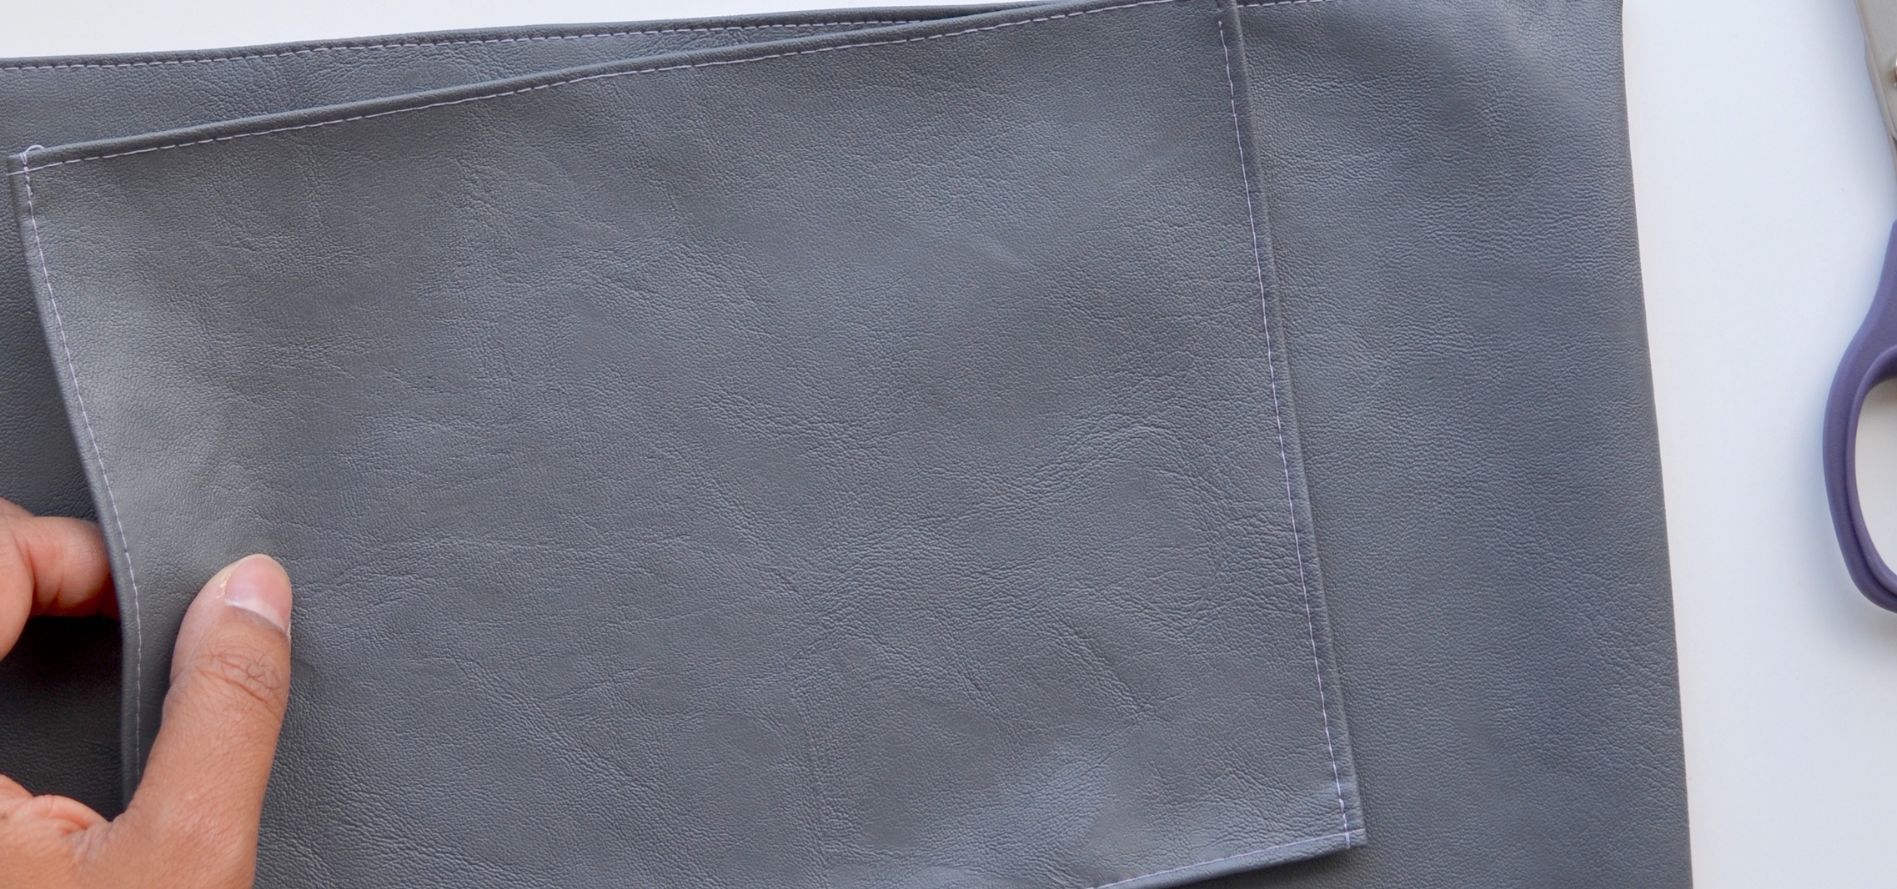
11. Top stitch around the entire piece, closing up the gap we left in step 6. Top stitch a few mm away from the edge for a nicer finish.
12. For the pocket- fold the edges to the inside (about 1cm all the way around) and top stich all the way around.
13. For the pen holder, fold this in half and position it under the pocket.
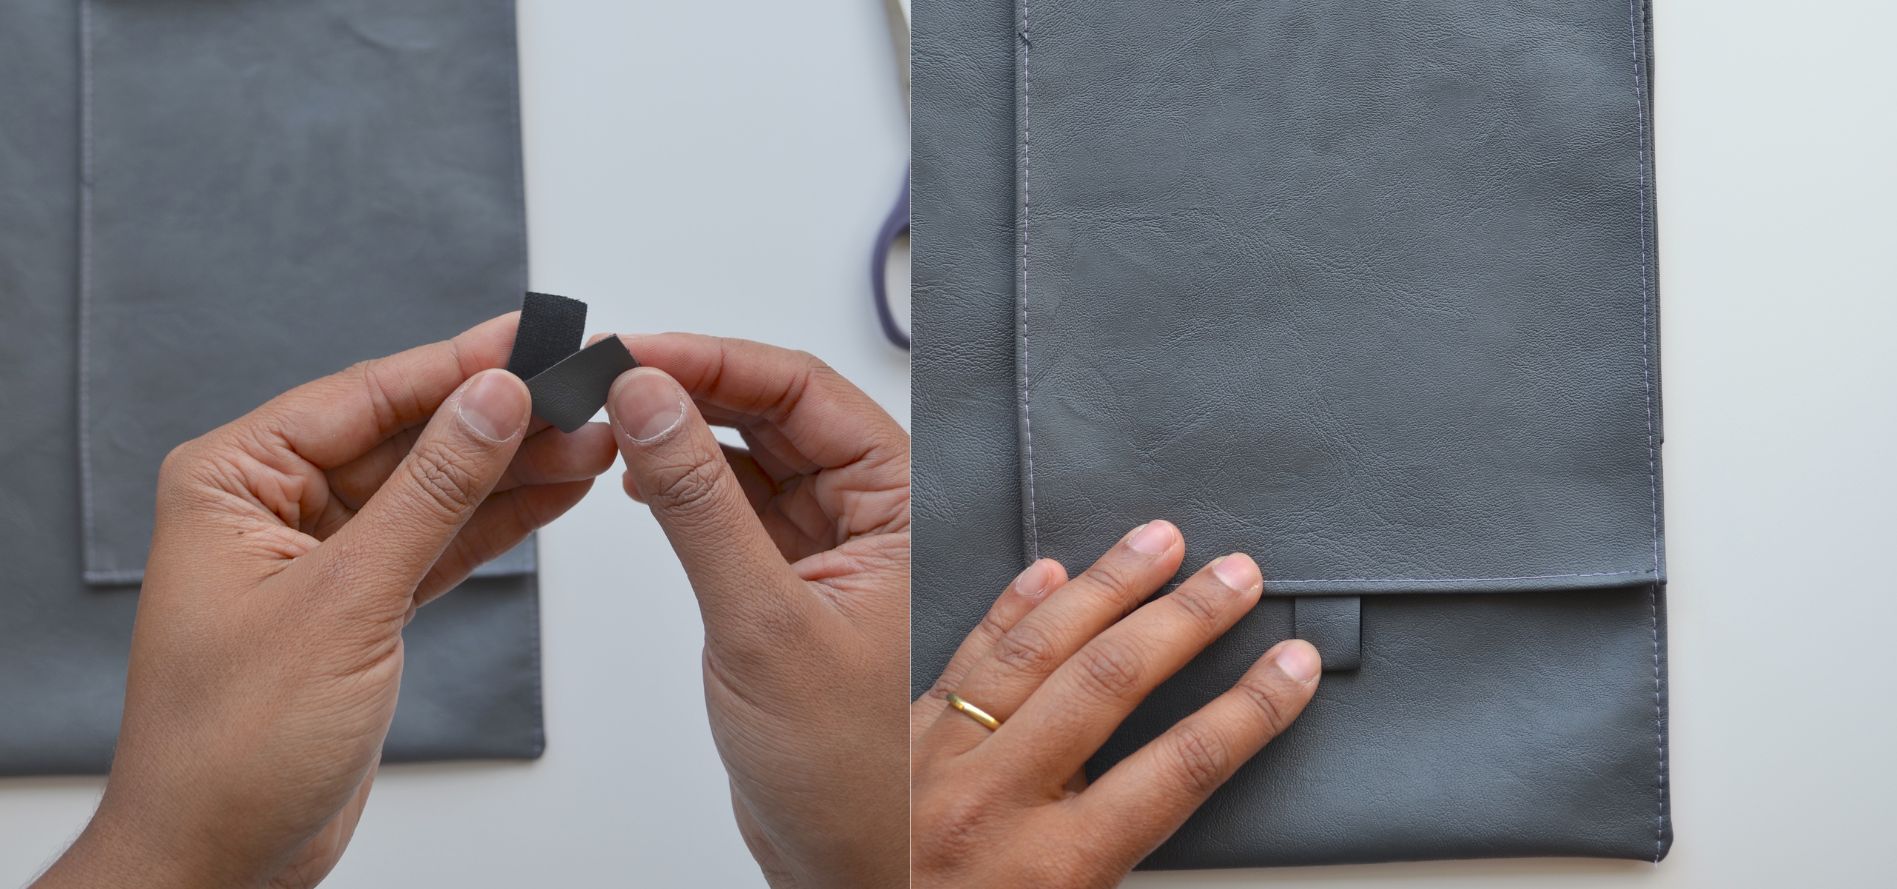
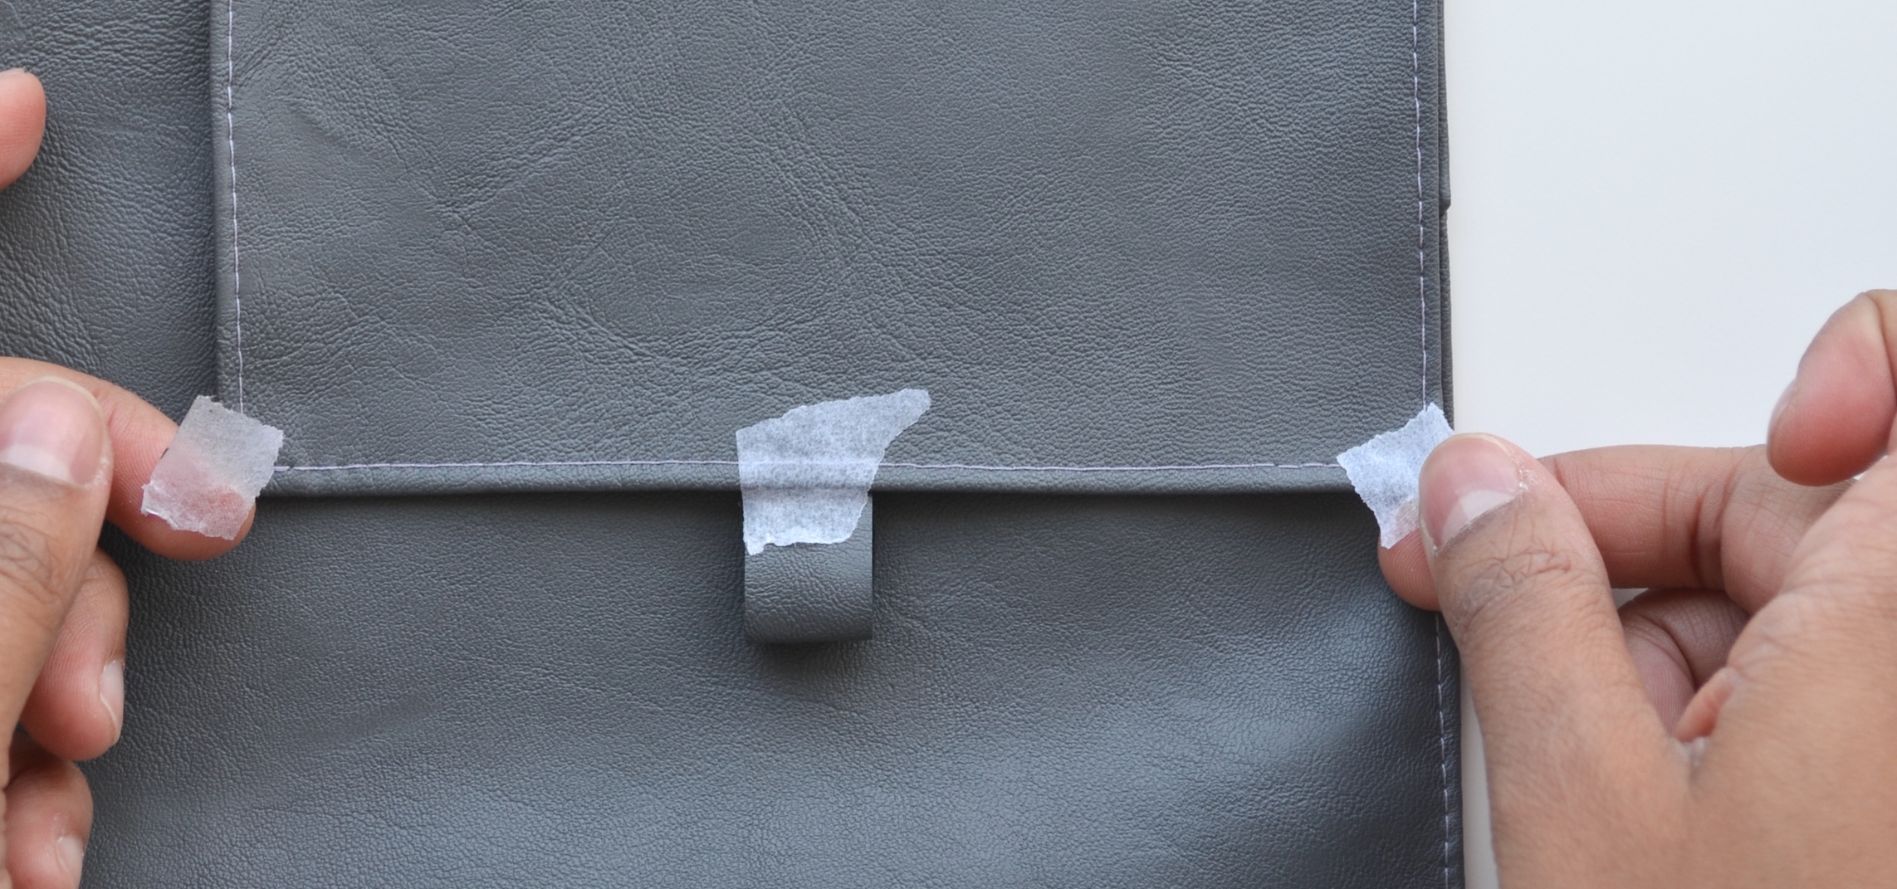
14. Stitch around the pocket edges (leaving the top open). I stitched over the existing top stitching on the pocket piece from step 12. You can use some masking tape to hold it in place.
15. Fold your laptop sleeve to create ‘sleeve’ part. It’s helpful to use your laptop here to see how much to fold the bottom up by. Stitch the two side seams. Again, I topstitched over the existing stitching from step 11. You might want to add a bar tack at the top for extra reinforcement.

16. Fold over the lid and mark where your two snaps will go (these should overlap the pocket).
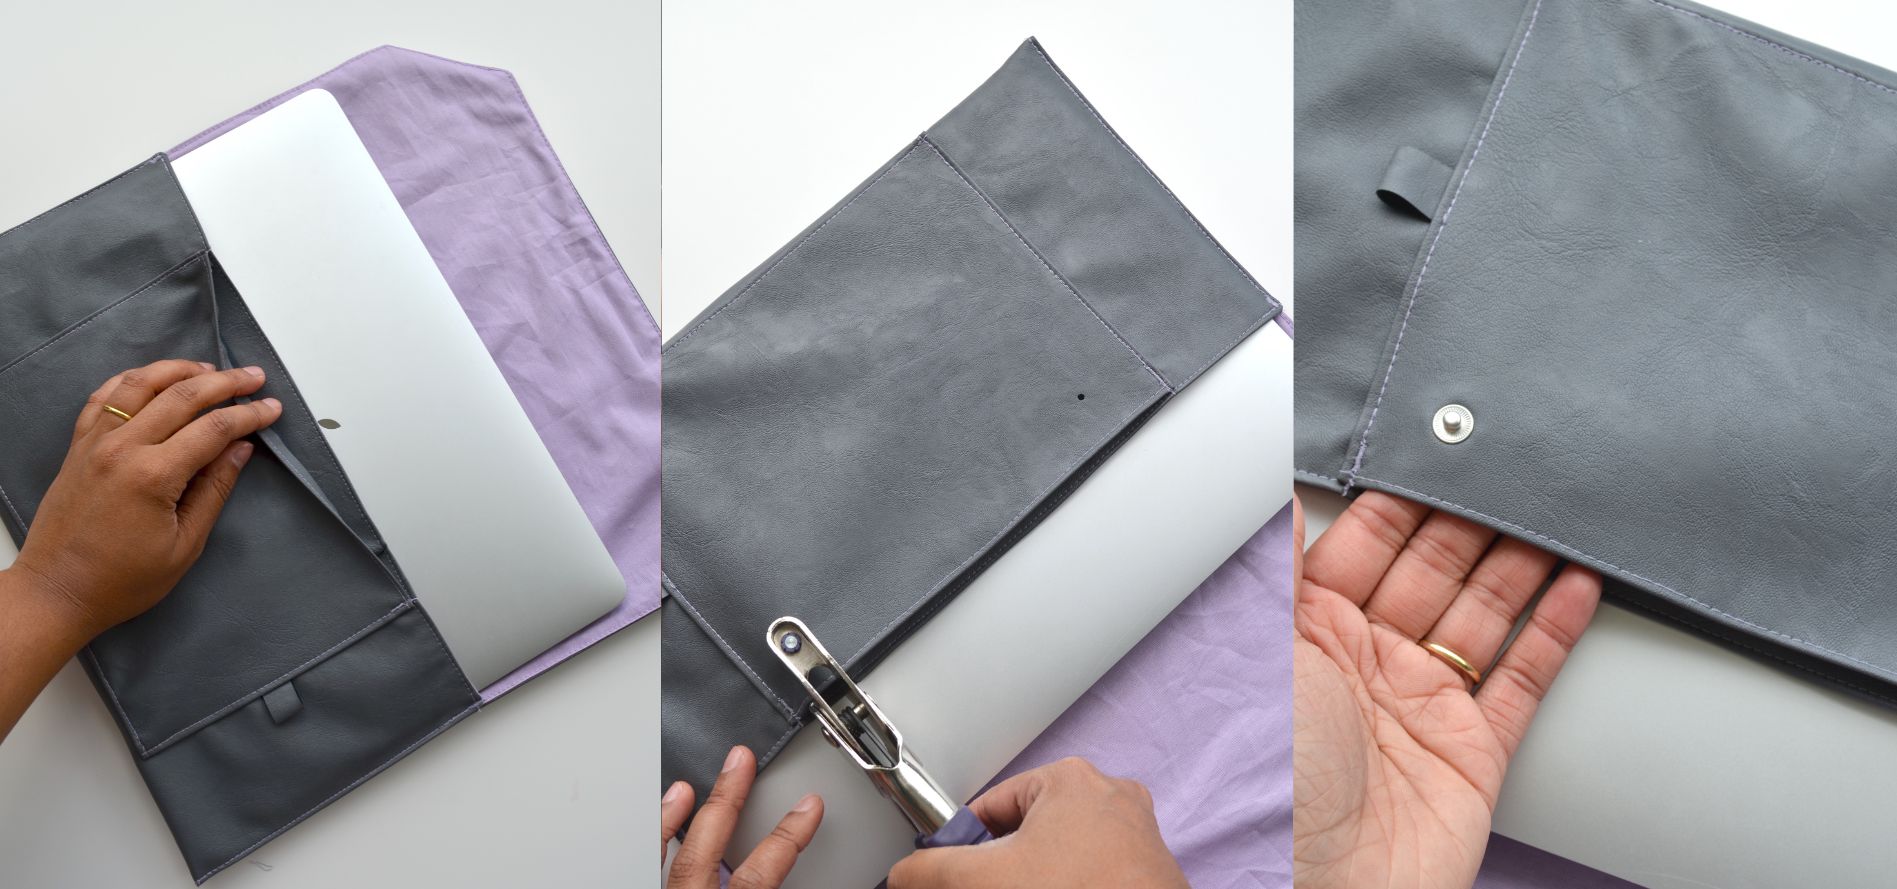
17. Create holes and apply your snaps following the packet instructions. For the pocket side, be careful to only go through the pocket layer.
18. You’re all done!
Now you’re ready to take your laptop on the go without having to worry about it getting scratched.